5 Tips for Better Fried Fish
I’ll never forget my first attempt at deep-frying calamari many years ago. My oil was way too hot, and I had neglected to thoroughly dry out the calamari before coating it. When I fired it into the pot, it immediately began to sputter, sizzle, and pop. In short order, hot oil was exploding from my stovetop like fireworks on the Fourth of July.
The first blistering burn was delivered to the top of my hand as I reached to turn down the burner. The second blob of burning oil landed on my forearm. By this point, the pot resembled a mini-volcano spewing molten peanut oil all over the kitchen.
The third and final burn would be the worst. A glob of hot oil rocketed out of the pot and delivered a direct hit to my left cheek, just below my eyeball. It hurt like the dickens.
The next day at work, I had to repeatedly explain the dime-sized red burn that now decorated my face. People seemed to think it was funny that the squid got its final revenge. But I wasn’t laughing. It was a severe burn, which left a mean scar that remained on my face for several years, serving as a constant reminder that I was not good at frying things.
It wasn’t until about 10 years ago that I truly got a handle on the fine art of deep-frying. I purchased an electric deep-fryer, and it was a game-changer.
Up until that point, I was pan-frying my fish in a cast-iron skillet, and the result was greasy, overdone fillets, from which the coating usually fell off. Then, one night I had an enlightening experience. I was watching Alton Brown’s cooking show on TV, and he made a very convincing argument that deep-frying was the way to go, and if done properly, it is actually healthier than pan-frying most foods.
When you deep-fry something, you immerse it in very hot oil. For the first few minutes, very little oil penetrates into the food because moisture is escaping. As long as moisture is flowing outward, oil will not flow in.
When pan-frying, on the other hand, you cook the fish one side at a time. Once the first side is browned and you flip it over, the cooked side will begin absorbing oil.
Over the years, deep-fried foods have gotten a bad rap and been deemed unhealthy. This is mainly because some people, and many restaurants, do their deep-frying in lard (a nice name for pork fat), which is loaded with cholesterol. But, if you deep-fry in vegetable oil, sure, you will add some fat, but not cholesterol.
There are two ways to deep-fry your fish. You can do it on the stovetop using a heavy pot or Dutch oven. If you go this route, you will need a thermometer to keep a constant eye on the oil temperature. While this method can produce good results, it’s messy and can be fickle, as it is harder to maintain a constant cooking temperature.
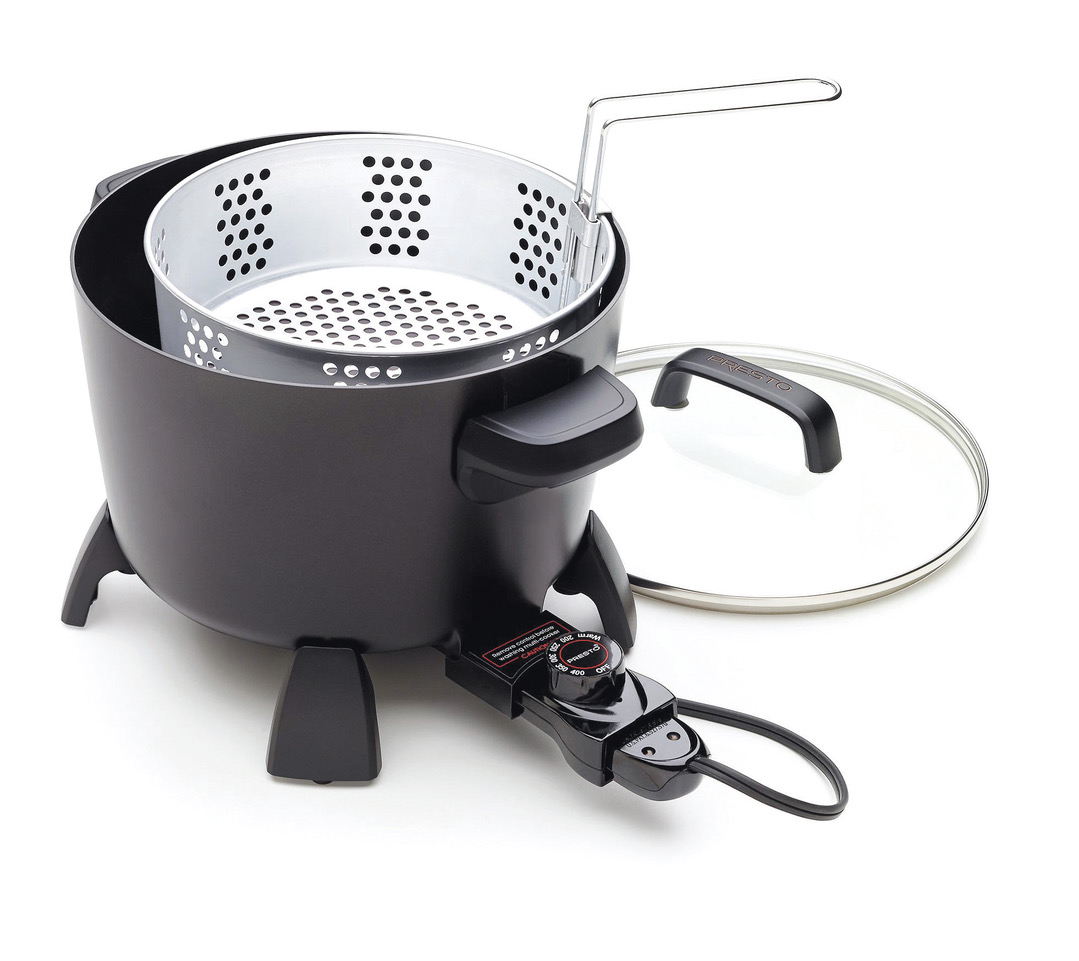
The other option, which I highly recommend, is to use a countertop electric fryolator (or an electric frying pan.) The beauty of an electric fryer is that you can set the dial to the temperature you want and the fryer’s thermostat will make any necessary adjustments. When you add food to hot oil, the oil temperature will drop. An electric fryer will automatically adjust the temperature, and heat it back up.
Below are 5 tips, which if you follow, will make you a better fish fryer.
1: Maintain oil temperature
Maintaining the oil temperature is crucial. Most seafood should be fried between 350 to 375 degrees. Smaller, thinner pieces should be cooked around 375, thicker pieces around 350.
2: Do not overcrowd!
When you add food to the fryer, the oil temperature will drop. Work in small batches and, if needed, you can reheat all the seafood at the end. Preheat your oven to 300 degrees, and insert a metal cookie sheet. When all the food is done, put it on the cookie sheet and reheat in the oven for 2 to 3 minutes.
3: Salt at the end
Avoid adding a lot of salt to your flour or batter, and instead season your seafood with salt as soon as it comes out of the fryer. Table salt will adhere much better than kosher salt.
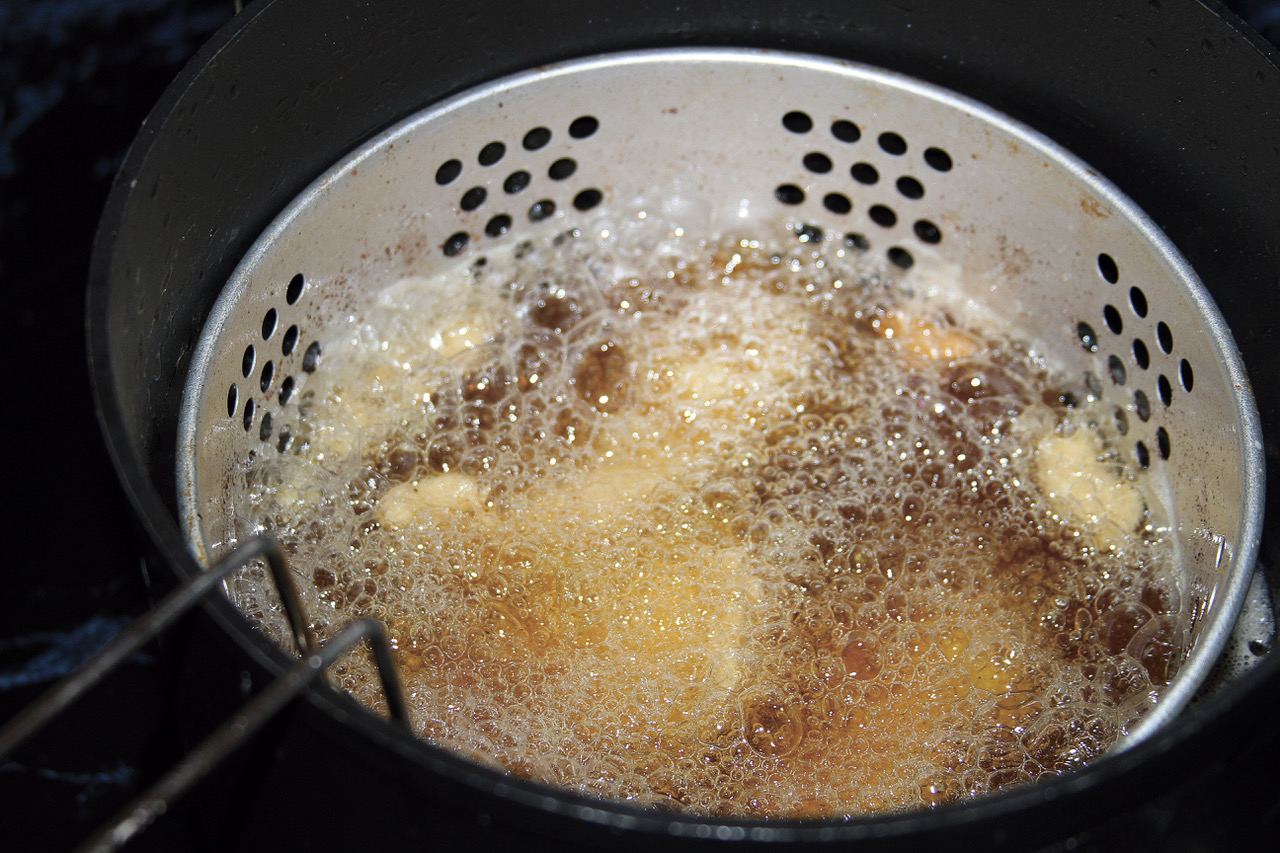
4: Do not overcook
Once the seafood is cooked through, it will stop emitting steam, and oil will seep back into the food, making it greasy. Your eyes and ears can tell you when it is done. When the bubbles subside and the sizzling stops, the food is done. Most seafood will be done in 3 minutes or less.
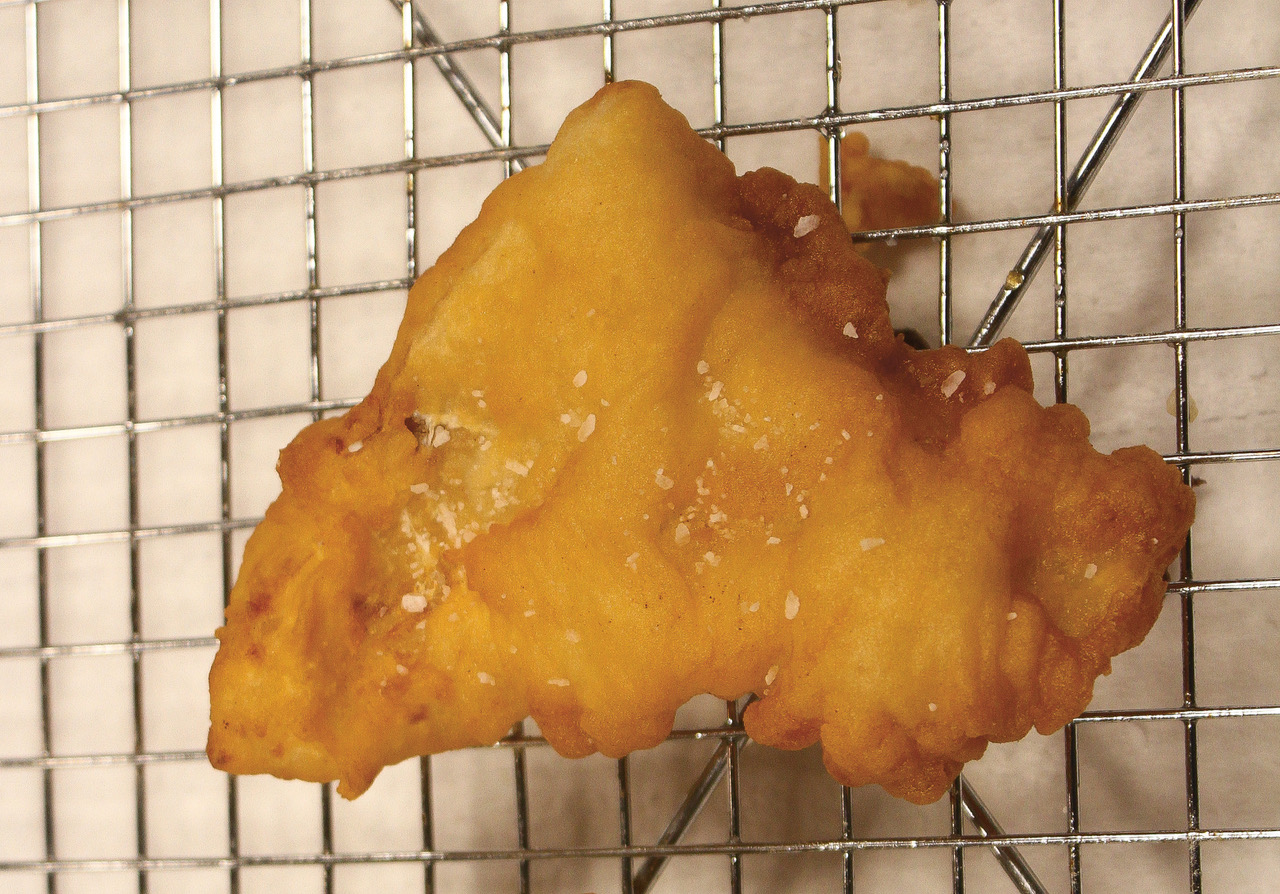
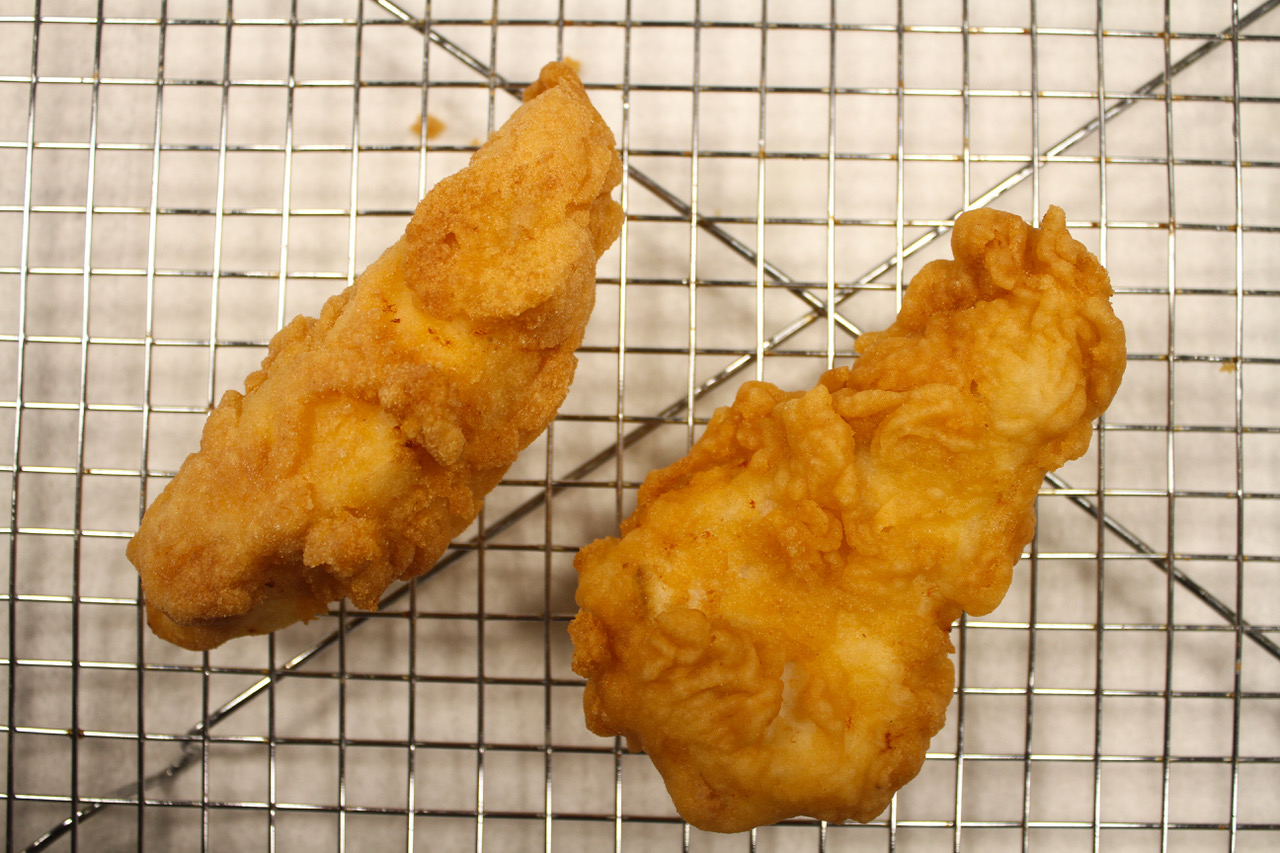
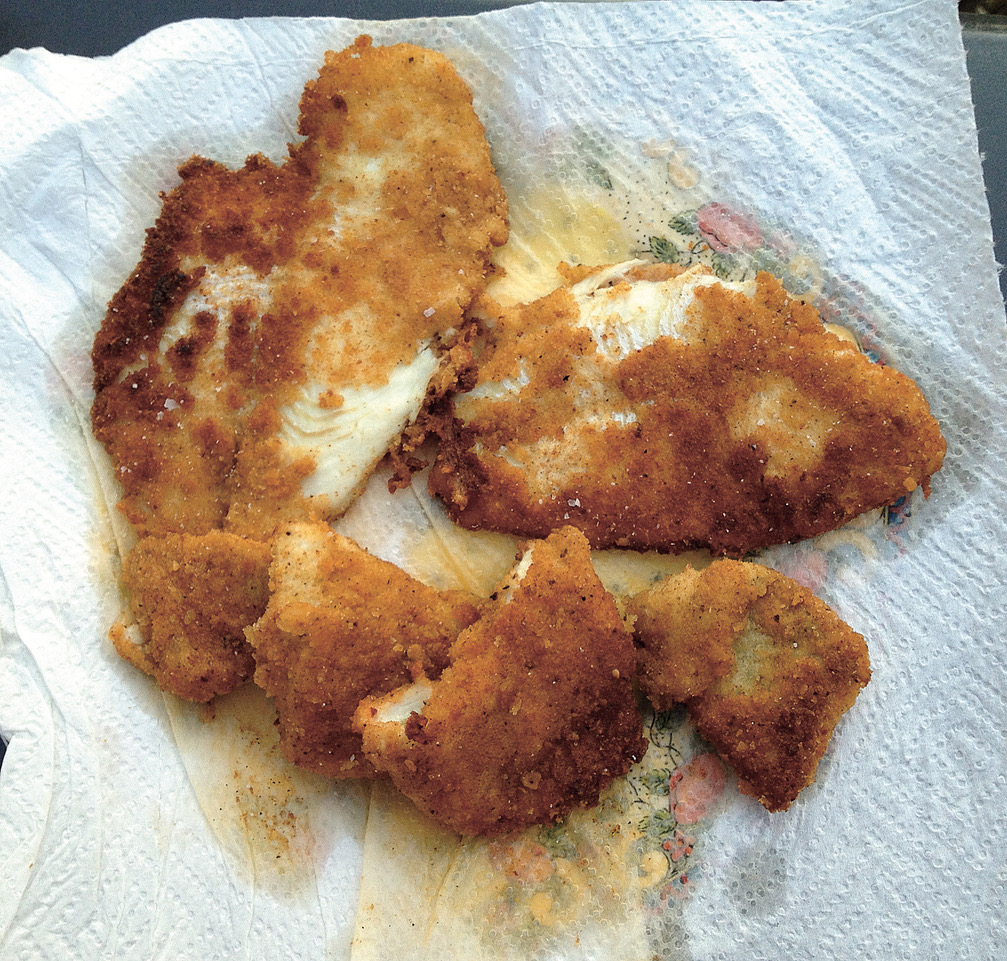
5: Skip the paper towels!
When you remove food from the fryer, place it on a metal drying rack. When you put it on paper towels, the crust will steam from below, leading to soggy bottoms and a coating that is more likely to fall off.
Related Content
Perfecting the Fried Fish Sandwich
2 on “5 Tips for Better Fried Fish”
-
darryl when finished discard the old oil so that anything else fried doesn’t taste like fish. Yep that’s how Alton fried his chicken.
-
www.fooddoz.com Thanks for the recipe.
Leave a Reply